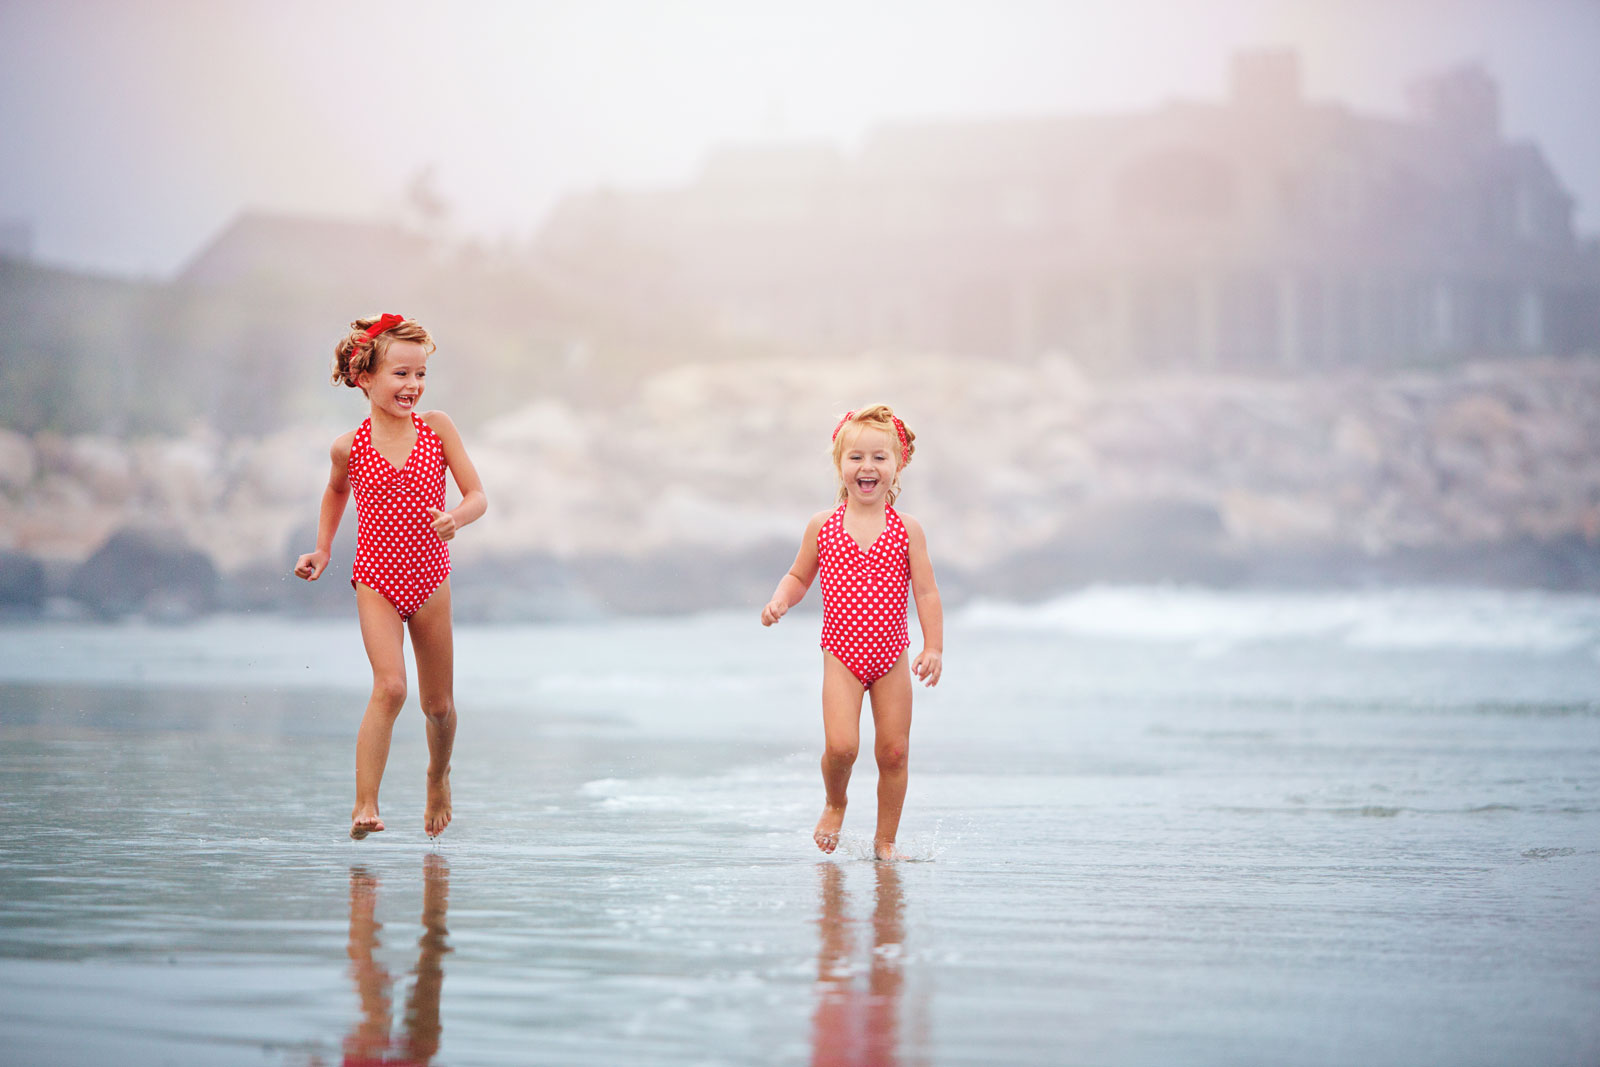
1. WHAT TIME DO I SHOOT???
The hour before sunset is the most flattering light. It creates gorgeous skin tones and adds an ethereal feel to your photographs. If you shoot before the golden hour, your photographs will suffer from harsh shadows, squinty eyes and blown out skies.
An added bonus for shooting later in the day? Less peeps in the background to kill your shot. Who wants to waste time in photoshop editing people out?
2. LENS HOOD & SUN FLARE
While haze is pretty, too much can ruin a picture. Use a lens hood to cut down on the intense haze. Butttttttt I also like some sun flare in my imagery when possible. The best time for this type of photograph is when the sun is lower in the sky. You want that warm, glowing light that happens right before sunset. Cameras struggle to focus when shooting into the sun, so try to focus somewhere on your subject’s body. I like to start around a shutter speed of 1/250 and increase the shutter to let less light in…. stopping when you like the results.

3. KEEP ISO LOW
When shooting in full sun keep your ISO at the lowest possible number because you typically have an over abundance of light. The lower the ISO, the better!
4. GORGEOUS BOKEH
What the heck is bokeh? Bokeh is the aesthetic quality of out-of-focus blur in a photograph. In other words, it gives you that dreamy background look….
When shooting one subject keep your aperture between 1.2 and 2 in order to create gorgeous bokeh. If your camera doesn’t go to 1.2, just shoot at the lowest possible F-
Stop while keeping as much distance between your background and subject as possible.
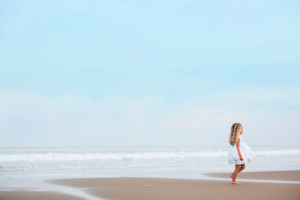
5. REFLECTIONS
Reflections are appealing to the eye. The water is the perfect element in nature to reflect. Try photographing your subject where you include the reflection in the water. Obviously, The reflection doesn’t have to be perfect, abstract reflections can be just as interesting to the eye. But be careful, if it’s before the golden hour, the reflection can create unflattering lighting on your subject.
6. DETAILS
Details are always interesting to the eye. For a child’s first shoot at the beach, shoot their tiny toes covered in sand. Or perhaps your daughter’s hair blowing in the wind. And what about some footprints in the sand? All fun, creative ways to capture imagery at the beach.
7. SILHOUETTES
Meter your camera toward the sky to ensure the right exposure for a pretty silhouette of your subject. Make sure there is a separation between your subjects so it doesn’t look like a black blob. Can’t change that in photoshop ☺ Also get low on the ground so you can capture more of the sky in your frame which will result in beautiful photographs.
8. THE HORIZON
I admit, I struggle with this at times. But aim to keep your horizon straight! To compensate, I usually shoot just a little wider so I can compensate with my tipsy angles ☺ Your horizon can be even more obvious when the area where the sky meets the ocean is running through your subjects head. Along with this, be sure to check your background for people, trash cans, bright colored beach toys. If there is something in your background that you cannot move, shoot at a Low F Stop to make those distractions less annoying.
9. DON’T BLOW OUT YOUR SKY
Don’t lose that pretty sky! While shooting the pretty sky, I will sometimes underexpose my subject knowing I can lighten them up in photoshop. I want to save the beauty of the sky and if I overexpose I can’t bring the sky back.
10. PAY ATTENTION TO THE WAVES!
When photographing your adorable clients, it would be easy to get caught up and miss the large waves rolling in…. believe me, it has happened to me! Waves come in sets. Some are bigger than others and the amount of waves in each set changes constantly. Pay attention and you should see when the smaller waves are coming in… This way you can get closer to the water’s edge without a wave suddenly knocking you or your client into the water and wet sticky sand. Water and sand are not your camera’s friend! ☺